





Dead Bug Exercise for Beginners: Safe Modifications for Back Pain
We have all seen it online: a polished trainer moving through a core exercise that looks almost effortless. So you roll out a mat, try to copy the movement, and within seconds your neck tightens, your lower back complains, and your confidence disappears.
That was my experience with the dead bug.
The exercise promised stronger abs and a more stable spine. Instead, it left me frustrated and sore. Failing at something that looked so basic was humbling, especially when most videos skipped the adjustments beginners actually need.
Then I developed a slipped disc and had to step away from training. Medication helped settle the sharp pain, but my midsection felt weak and unsteady. The dead bug was no longer about appearance. I needed better core control to move through daily life without constantly worrying about another sciatica flare-up.
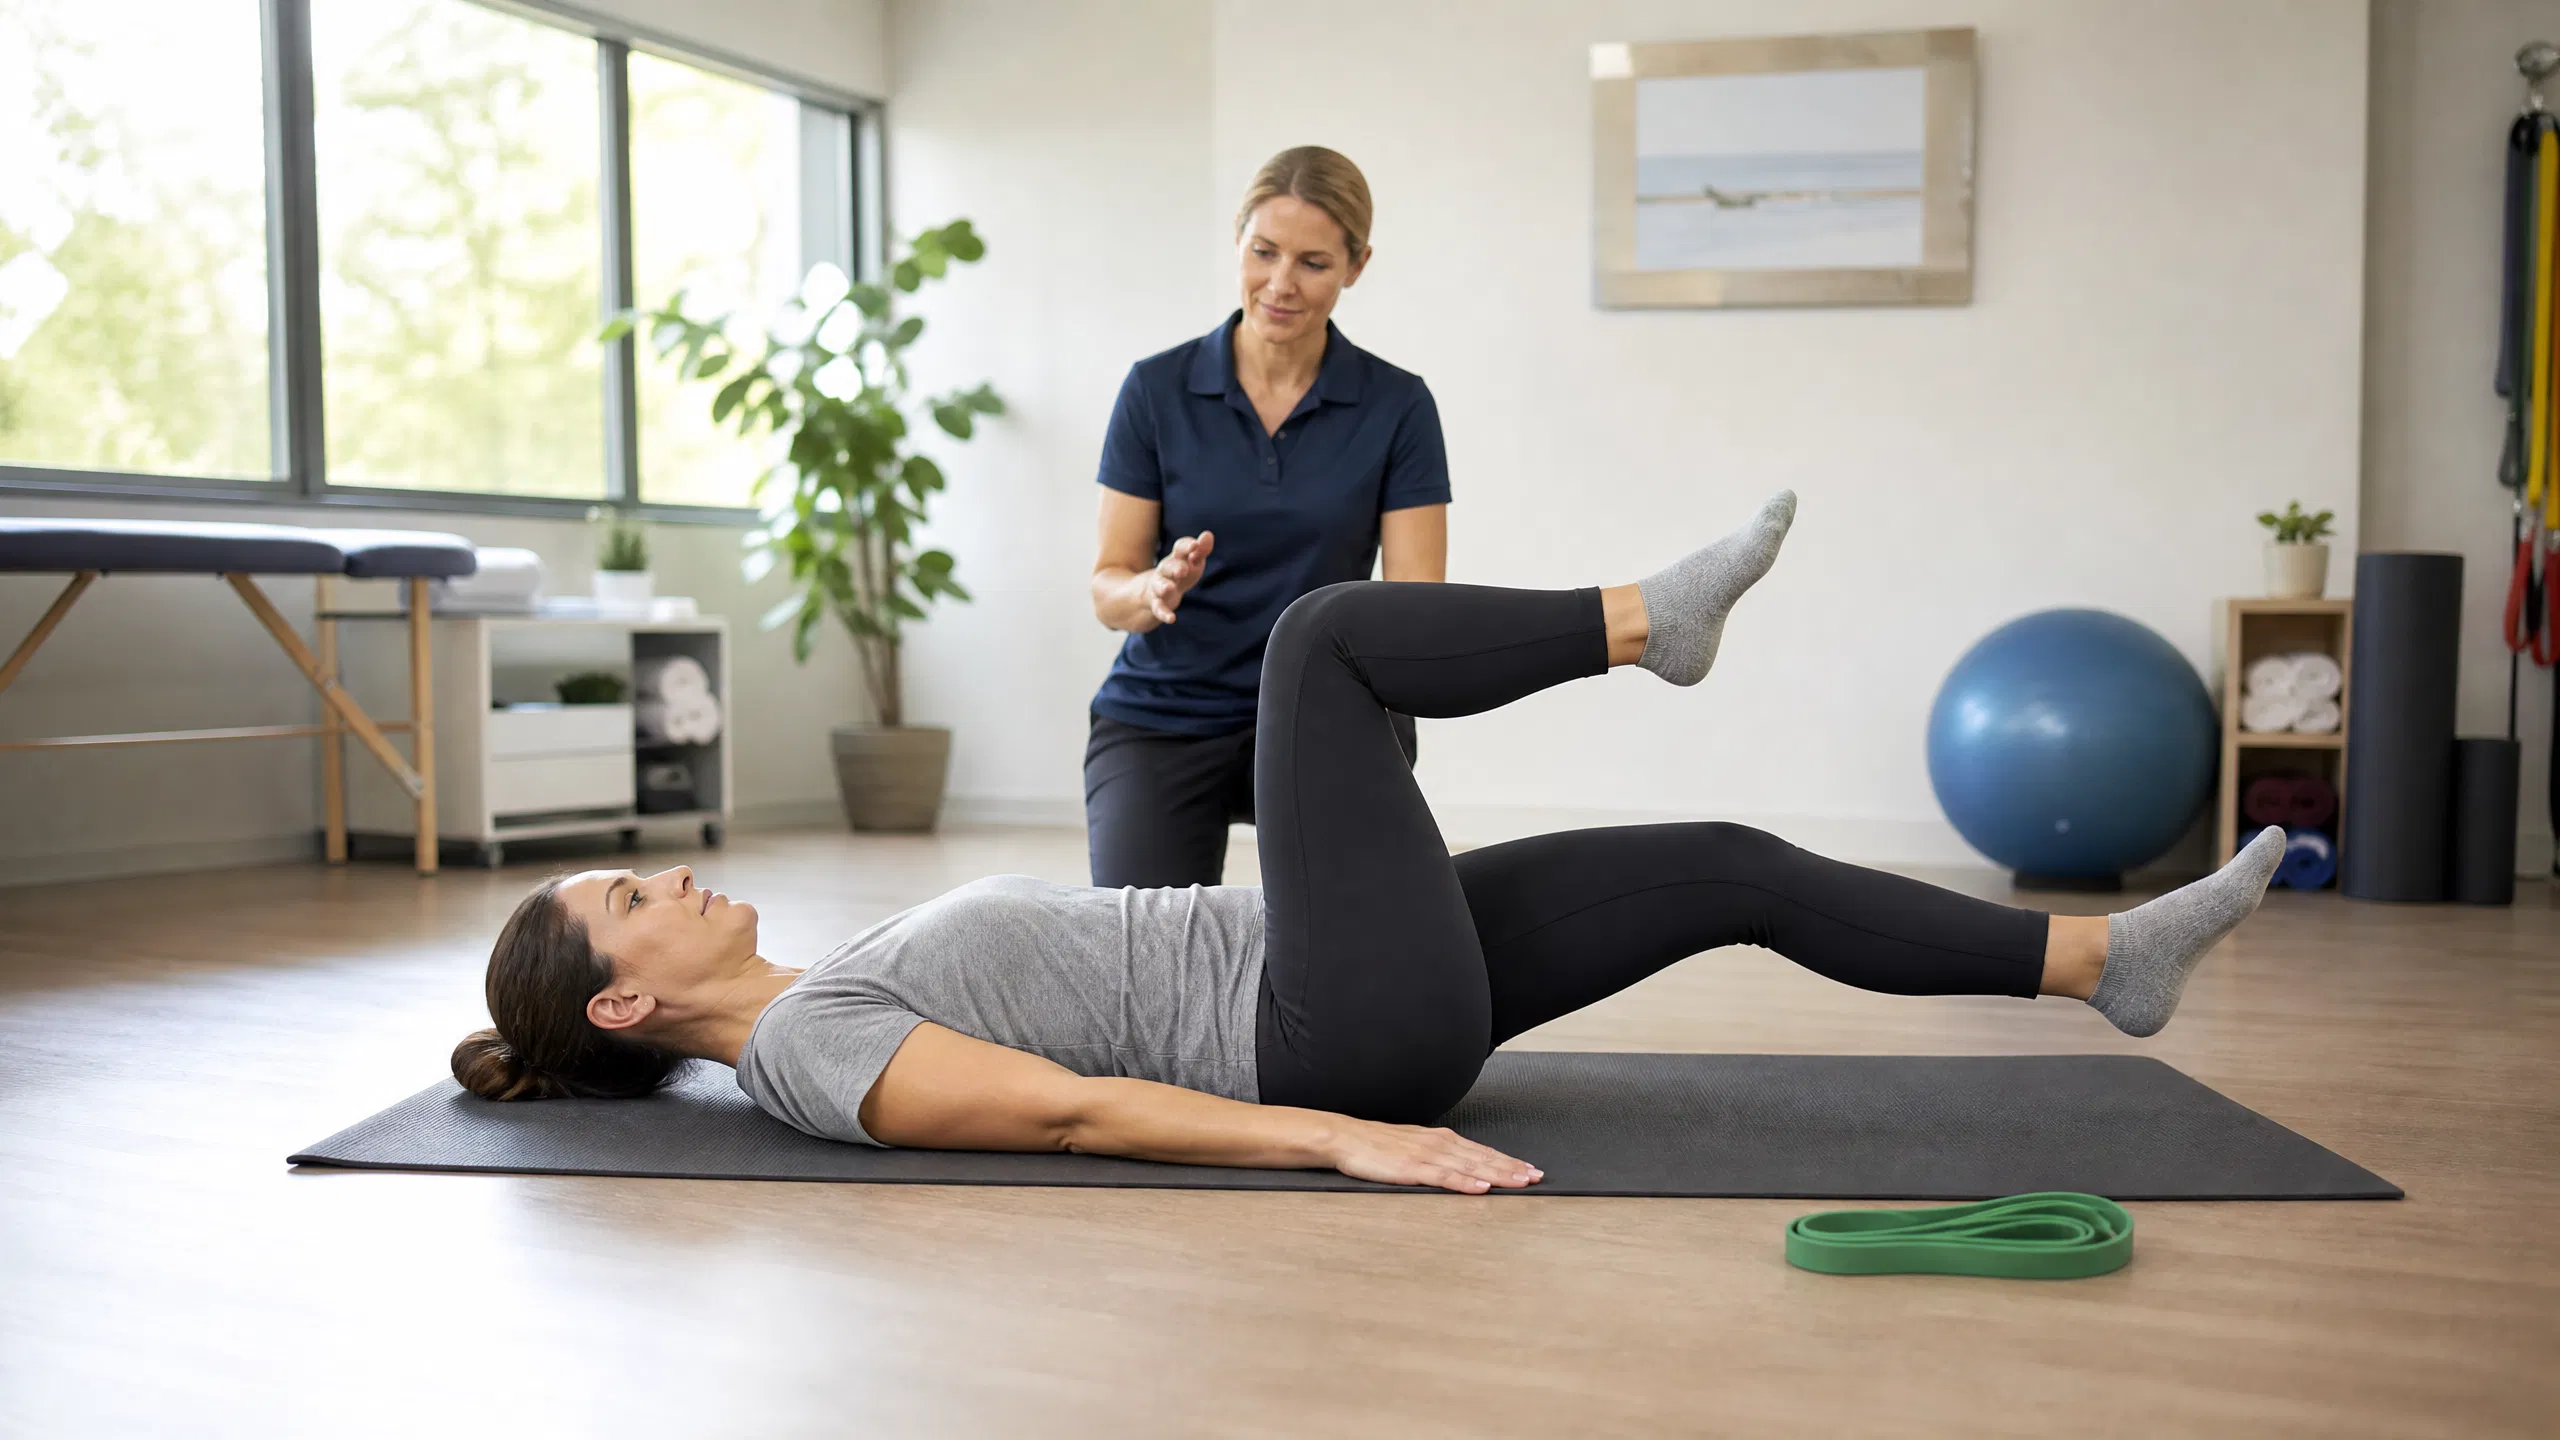
A physical therapist helped me rebuild patiently. Rather than pushing me straight into the full exercise, she broke it into manageable steps. That progression made all the difference. If you are new to core training, dealing with back discomfort, or struggling to perform a dead bug without arching your spine, these modifications can give you a safer place to begin.
What the Standard Dead Bug Should Look Like
The dead bug is a slow, controlled core exercise. Its purpose is not to move as far or as quickly as possible. The goal is to keep your trunk steady while your arms and legs move independently.
Starting position
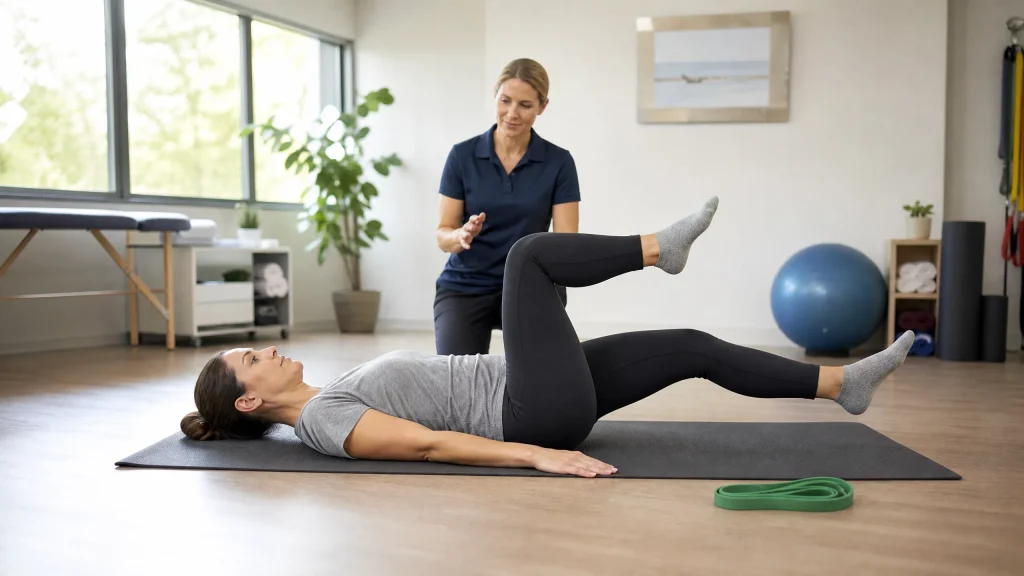
Lie on your back with your knees bent to about 90 degrees. Lift your legs so your thighs point toward the ceiling, and extend your arms straight above your chest.
Brace your core
Gently press your lower back toward the mat. Avoid forcing it down or holding your breath. Think about creating a steady connection between your ribs, pelvis, and abdominal muscles.
Move slowly
Lower one arm overhead while extending the opposite leg. Keep both limbs hovering above the floor if you can do so without losing control. Then return to the starting position and switch sides.
Watch for compensation
If your lower back lifts away from the mat, your ribs flare, your neck strains, or your movements become rushed, the exercise is probably too difficult in its current form. Reduce the range of motion or return to an earlier progression.
A Three-Phase Dead Bug Progression
The following sequence begins with the simplest version and gradually adds challenge. Move forward only when you can complete the current step comfortably and with control.
Phase 1: Heel Drops
Heel drops are an excellent starting point for beginners and people rebuilding strength after back trouble. They remove the arm movement and shorten the leg’s range, allowing you to focus on pelvic and trunk control.
Set up: Lie on your back with your knees bent and your legs lifted. Keep your arms resting by your sides, with your palms on the floor if that feels supportive.
Perform the movement: Slowly lower one heel toward the floor. Tap down lightly—or stop before the floor—then bring the leg back up. Alternate sides without allowing your back to arch.
Make it easier: Lower the heel only halfway. A smaller movement performed well is more useful than a larger one that causes your spine to lose position.
Phase 2: Add a Resistance Band
Once heel drops feel comfortable and do not aggravate your symptoms, a mini resistance band can add a new challenge.
Place the band around the arches of your feet and return to the same 90-degree starting position. Perform heel drops, or gradually work toward controlled leg extensions while pressing gently against the band.
The added resistance may make your hips and core work harder. Keep the movement slow. If the band causes your back to arch or your pelvis to shift, remove it and return to the unresisted version.
Phase 3: Return to the Full Dead Bug
When your legs can move independently without your back lifting from the mat, begin adding the arms again. Lower one arm overhead as the opposite leg extends. Move only through the range you can control.
There is no prize for rushing this stage. Smooth repetitions matter more than how close your limbs get to the floor.
Optional Progressions for Experienced Exercisers
After you can perform the standard dead bug consistently and comfortably, you may choose to increase the challenge. Hold a light weight in your hands, use a stability ball between your hands and knees, or add resistance gradually.
Be cautious with advanced variations that lift your head and shoulders from the mat. They may increase the demand on the upper abdominals, but they can also place extra strain on your neck or change the exercise in ways that are not helpful for everyone. Progress only if you can maintain good form and remain symptom-free.
Why the Dead Bug Can Feel Difficult
The movement looks simple because the limbs travel slowly. Underneath, however, your abdominal muscles, hips, and deep stabilizers must coordinate to keep your pelvis from tipping and your ribs from flaring.
When those muscles tire, the body often looks for an easier strategy. The lower back arches. The neck takes over. The legs move too far. These are not personal failures; they are useful signals that the exercise needs to be adjusted.
How Often Should You Practice?
For foundational training, some people may begin with two or three sets of eight to ten controlled repetitions per side, performed several times per week. Your physical therapist or healthcare professional may recommend a different volume based on your symptoms, diagnosis, and overall program.
Quality should guide the session. Stop before fatigue changes your form, and allow enough recovery between workouts for your body to adapt.
Conclusion: Progress Is the Point
The dead bug may be beginner-friendly, but it is not necessarily easy. If it feels awkward at first, that is normal. Core control develops through repetition, attention, and patience—not by forcing your body into a movement it is not ready to perform.
Use modifications as tools, not as signs that you are falling behind. Work within a pain-free range, move slowly, and step back whenever your form starts to unravel. Over time, these small adjustments can help you build a stronger, steadier core and move with more confidence.
The real achievement is not performing the most advanced version. It is learning how to support your spine while your body moves—and knowing when to progress.
Frequently Asked Questions
How can I tell whether my core is engaged?
Place one hand on your abdomen. As you breathe out, gently brace your midsection without sucking it in or holding your breath. Your abdominal wall should feel firm, but your shoulders, jaw, and neck should remain relaxed. Continue breathing normally as you move.
Why does my back hurt during the dead bug?
Back discomfort may occur when your core becomes fatigued and your pelvis tips forward, allowing your lower back to arch. Try a smaller movement or switch to heel drops. If pain continues, stop the exercise and ask a qualified healthcare professional for guidance.
Is the dead bug safe if I have a herniated or slipped disc?
It may be included in some rehabilitation programs, but it is not automatically appropriate for everyone with a disc injury. Get individual advice from a healthcare professional before adding it to your routine, particularly if you have pain, numbness, weakness, or symptoms that travel down a limb.
How often should I practice dead bug modifications?
A common starting point is two or three sessions per week, but the right frequency depends on your condition and overall training plan. Follow the progression recommended by your physical therapist or clinician, and prioritize controlled repetitions over volume.
Do I need equipment?
No. The basic exercise and heel-drop variation require only a comfortable surface. A mini resistance band can add challenge later, but it is optional.
Should I feel the exercise in my lower back?
You may notice some muscular effort around your trunk, but the exercise should not create sharp, worsening, or radiating pain. If your lower back is doing most of the work, shorten the movement or return to an easier variation.
Disclaimer
This article is for general educational purposes and is not a diagnosis, treatment plan, or substitute for individualized medical advice. Back pain, disc injuries, and sciatica can have different causes. Speak with a qualified healthcare professional before beginning or changing an exercise program, especially if you have numbness, weakness, loss of bladder or bowel control, severe pain, or symptoms that are worsening. Stop exercising and seek prompt medical care if serious symptoms develop.

Credible Sources
Use these references to support the article’s guidance:
- American College of Physicians — Noninvasive Treatments for Acute, Subacute, and Chronic Low Back Pain — Clinical guidance on noninvasive approaches to low-back pain, including exercise-based care.
- Journal of Orthopaedic & Sports Physical Therapy — Interventions for the Management of Acute and Chronic Low Back Pain — Evidence-based recommendations for rehabilitation and exercise interventions.
- American Academy of Family Physicians — ACP Guidelines on Low Back Pain — Summary of evidence related to motor-control and stabilization exercises.
- National Health Service — Back Pain — Practical guidance and warning signs that require medical assessment.
- National Health Service Greater Glasgow and Clyde — Low Back Pain Self-Help — Information about red-flag symptoms, including significant bowel, bladder, or sexual-function changes.
- PubMed Central — Effectiveness of Core Stabilization Exercises — Research on core-stabilization exercise for chronic nonspecific low-back pain.

Health & Wellness Writer | Research-Informed Health Content Creator
A.K.M. Monjurul Hoque is a health and wellness writer specializing in health, beauty, fitness, nutrition and healthy living. His content is informed by health journals, books, seminars, training programs, and discussions with experienced healthcare professionals. He writes clear, practical and research-informed articles for general education and encourages readers to seek personalized advice from qualified medical professionals.